Understanding the AR 10 Trigger Mechanics
What is an AR 10 Trigger?
The AR 10 trigger is a crucial component of the AR 10 rifle system, specifically tailored to enhance shooting performance and accuracy. Unlike traditional triggers, the AR 10 trigger is designed for a semi-automatic platform, providing consistent pull weight and reliable firing action. This makes it essential not just for professional shooters, but also for hobbyists looking to optimize their firearm’s functionality. Understanding how the trigger operates is fundamental to maximizing your rifle’s potential, which is why many enthusiasts turn to resources that focus on the intricacies of the ar 10 trigger.
Components of the AR 10 Trigger System
The AR 10 trigger system comprises several key components that work together to ensure a safe and effective shooting experience. These include:
- Trigger: The part you physically pull to fire the weapon. Trigger designs can vary significantly, with options tailored for specific uses.
- Disconnector: This component prevents the trigger from being fired multiple times until the firearm is reset, maintaining firing control.
- Sear: Engages and releases the hammer, crucial for the timing and safety of the firing mechanism.
- Hammer: Strikes the firing pin to ignite the cartridge. The hammer’s mass and engagement with the sear directly influence the trigger’s pull weight.
- Trigger Spring: A mechanical spring that returns the trigger to its original position after firing, dictating the resistance felt in pull weight.
- Safety Mechanism: Ensures the rifle cannot be fired accidentally, typically involving a safety lever that blocks the trigger or disconnector.
Common Trigger Types and Their Functions
Trigger types can generally be classified into categories based on their mechanism and functionality. Each type offers specific advantages that can cater to different shooting styles and preferences:
- Standard Triggers: Usually the factory-installed option; reliable but often provide a heavier pull weight.
- Match Triggers: Designed for precision shooting, these offer lighter pull weights and crisp breaks, beneficial for target shooters.
- Two-Stage Triggers: These require two distinct pulls: the first stage is a light take-up, leading to a noticeable wall before the final break. Ideal for accuracy.
- Single-Stage Triggers: Engagement occurs in one continuous motion for a quick release, preferred in tactical contexts for faster follow-up shots.
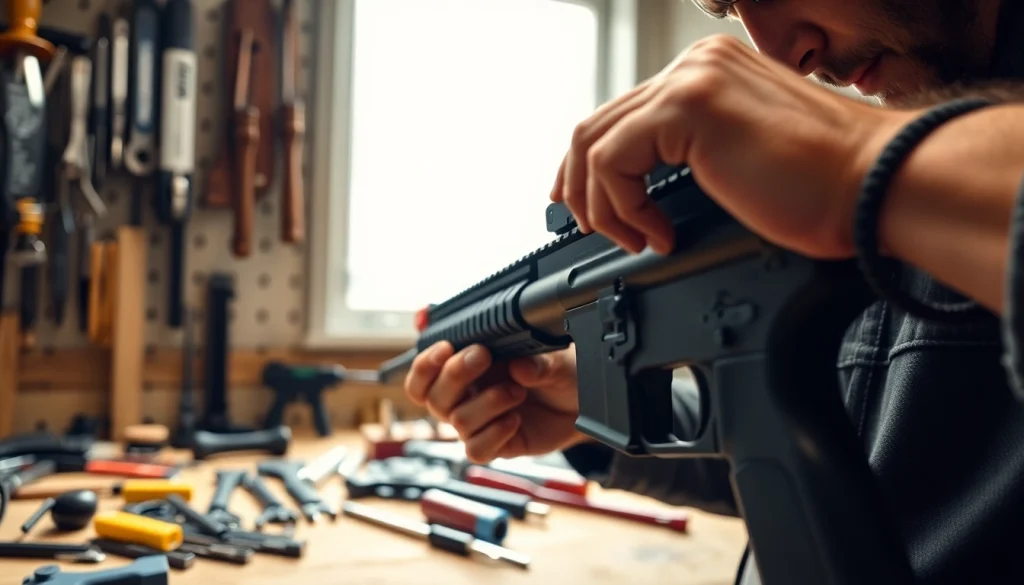
Preparing for Installation
Tools Required for AR 10 Trigger Installation
Installing an AR 10 trigger requires specific tools to ensure the process is efficient and safe. Essential tools include:
- Punch Set: For driving out pins and facilitating disassembly and reassembly.
- Screwdriver Set: Flat and Phillips screwdrivers are necessary for various components.
- Wrench: Depending on your trigger system, a wrench may be necessary for certain hex nuts.
- Safety Glasses: To protect your eyes during installation.
- Lubricant: A good firearm lubricant ensures smooth operation post-installation.
Safety Precautions Before Starting
Before installing the new trigger, it is essential to adhere to safety protocols to prevent accidents:
- Ensure the firearm is unloaded — remove all ammunition and visually inspect the chamber.
- Work in a clean, well-lit environment, free from distractions.
- Use proper tools to avoid damaging components and ensure safety.
- Wear protective eyewear to safeguard against any flying debris.
How to Choose the Right Trigger for Your AR 10
Choosing the right trigger is paramount to achieving the best performance from your AR 10. Key factors to consider include:
- Use Case: Determine whether your primary use will be tactical, competitive shooting, or hunting, as this influences trigger weight and style.
- Trigger Weight: Consider what pull weight feels comfortable and allows for the most accuracy in your shooting.
- Material and Build Quality: Higher quality materials typically lead to increased durability and smoother operation.
- Trigger Type: As previously discussed, whether you prefer single-stage, two-stage, or match triggers affects your choice.
Step-by-Step Installation Process
Disassembling Your AR 10 for Trigger Access
The disassembly process involves several careful steps to access the trigger assembly:
- Remove the upper receiver from the lower by pushing out the takedown pins.
- Remove the pistol grip and the trigger guard; this may involve unscrewing or removing pins.
- Carefully remove the trigger pins. A punch tool can facilitate this by driving them out gently.
- Lift the old trigger assembly out of the lower receiver, taking care to note the positions of other components such as the disconnector and sear.
Installing the New AR 10 Trigger
Once disassembled, you can install your new trigger:
- Position the new trigger into the lower receiver, aligning it with the pin holes.
- Insert the sear and disconnector, ensuring they correctly interface with the trigger.
- Carefully push in the new trigger pins, ensuring they are seated flush with the receiver.
- Reinstall the trigger guard and the pistol grip, ensuring all screws are tightened appropriately.
Reassembly Tips to Ensure Functionality
Upon completing the installation, reassembling your AR 10 requires attention to detail:
- Double-check that all components are properly seated and secured.
- Ensure the safety lever functions correctly before reattaching the upper receiver.
- Inspect the trigger pull to confirm it feels smooth; if it seems excessively heavy or inconsistent, review the installation.
Post-Installation Adjustments and Testing
How to Adjust Trigger Pull Weight
Many premium AR 10 triggers come with adjustable pull weight features. To adjust this, follow these steps:
- Locate the adjustment screw, usually situated on the trigger or sear.
- Use the appropriate tool to turn the screw clockwise to increase weight or counter-clockwise to decrease.
- Test the pull weight after each adjustment to ensure it meets your preferences.
Testing the Trigger for Proper Functioning
Once adjustments are made, the trigger should be tested to confirm functionality:
- Ensure the rifle is unloaded before testing.
- Perform dry fire tests in a safe environment, noting the feel of the trigger and whether it resets properly.
- If applicable, conduct live fire tests at a shooting range to assess performance under real conditions.
Troubleshooting Common Installation Issues
Should you encounter problems, here are common issues and their solutions:
- Heavy Trigger Pull: Check to see if the spring is incorrectly installed or if too much weight is applied during adjustments.
- Trigger Doesn’t Reset: Ensure that the disconnector is correctly seated and not obstructed.
- Safety Engaging Unexpectedly: Inspect the safety mechanism for proper alignment and adjustments.
Best Practices for AR 10 Trigger Maintenance
Regular Cleaning and Upkeep
Maintaining your trigger system requires a commitment to cleanliness and preventive care:
- Regularly clean your trigger assembly to remove fouling, dirt, and debris that can affect functionality.
- Use a soft brush and appropriate solvents to clean fine crevices.
- Apply a light coating of lubricant to moving parts, but avoid over-lubricating, which can attract dirt.
Signs Your Trigger Needs Replacement
Be vigilant regarding the performance of your trigger. Signs that replacement may be necessary include:
- Inconsistent trigger pull or excessive creep, leading to inaccuracy.
- Difficulty in engaging or disengaging the safety mechanism.
- Notable wear on the trigger or other components after prolonged use.
Upgrading Your Trigger: When and Why
Upgrading your AR 10 trigger can significantly enhance your shooting experience and accuracy. Consider an upgrade when:
- You notice your current trigger does not meet your performance expectations or match your shooting style.
- You are frequently engaging in competitive shooting where precision is paramount.
- You wish to increase the comfort and enjoyment of your shooting experience.
FAQs
1. How do I know if my AR 10 trigger needs replacement?
If you experience inconsistent firing or excessive creep in the trigger pull, it may need replacement.
2. What tools do I need to install an AR 10 trigger?
You will need a punch set, screwdriver, and possibly a wrench, depending on your trigger type.
3. Can I install an AR 10 trigger without professional help?
Yes, if you follow instructions carefully and understand firearm safety, it can be done at home.
4. How often should I check my AR 10 trigger?
Regular check-ups are ideal, especially after heavy use or if you notice changes in performance.
5. What is the best trigger weight for an AR 10?
The ideal weight varies by shooter preference, but 3 to 5 pounds is commonly recommended for versatility.